
Three-point lighting works because it gives you control over shape, shadow, and separation. Use a key light to define the face, a fill light to soften contrast, and a back light or rim light to pull the subject away from the background. Once you understand those three jobs, portrait lighting stops feeling like guesswork.
TLDR: Place the key light about 45 degrees to one side of the subject and slightly above eye level. Add a weaker fill light on the opposite side, then place a back light behind the subject to create edge separation. For example, a small portrait studio using this setup can cut retouching time by 25% to 40% because shadows, skin texture, and background separation are cleaner in camera. Start with a 2:1 or 3:1 key-to-fill ratio for flattering professional portraits.
Table of Contents
What Is Three-Point Lighting in Photography?
Three-point lighting is a classic lighting setup built around three light sources: the key light, fill light, and back light. It is used in portrait photography, product photography, interviews, headshots, and editorial work because it creates depth without making the image feel overworked.
The setup sounds simple. One light does the heavy lifting. One light controls the shadows. One light separates the subject from the background. That is the whole idea.
The catch is that tiny changes matter. Move a light six inches higher and the cheek shadows change. Shift the fill too close and the face turns flat. Angle the rim light too far forward and you get ugly glare on the nose or glasses. It drives me crazy that many lighting diagrams make it look cleaner than it feels on set. Real portraits need small adjustments.
The Key Light: Your Main Source
The key light is the main light in the scene. It sets the mood, direction, and overall exposure. If your portrait looks dramatic, soft, bright, or moody, the key light usually made that happen.
For a standard portrait, place the key light:
- About 45 degrees to the left or right of the subject
- Slightly above eye level, angled down toward the face
- Close enough to create soft light, if using a softbox or umbrella
- Far enough to avoid harsh hot spots on the forehead and nose
A good starting point is to place the light two to four feet from the subject if you are using a medium softbox. For a tighter headshot, bring it closer. For a more sculpted portrait, move it farther away or use a smaller modifier.
Watch the shadow under the nose. If it drops too far over the lip, the light is too high. If the face looks flat, the light may be too close to the camera axis. For flattering portraits, aim for a small triangle of light on the shadow side of the face. This is often called Rembrandt lighting, and it works well for faces with strong bone structure.
The Fill Light: Shadow Control Without Killing Shape
The fill light softens the shadows created by the key light. It should not compete with the key. Think of it as support, not a second main light.
Place the fill light:
- On the opposite side of the key light
- Near camera height or slightly above it
- At a lower power setting than the key
- Broad and soft, using an umbrella, softbox, bounce card, or reflector
A common lighting ratio is 2:1, where the key light is one stop brighter than the fill. This gives a clean, commercial look. For more drama, use 3:1 or 4:1. That means the shadows stay richer, but you still keep detail in the face.
If you do not have a second light, use a white reflector. Place it on the shadow side of the face and move it in or out until the contrast feels right. Honestly, it feels like cheating the first time you see how much a $20 reflector can improve a portrait.
Be careful with fill. Too much fill makes skin look dull and removes facial structure. Too little fill creates deep shadows that may not suit corporate headshots or beauty portraits. Check the eyes. You want catchlights, but not three messy bright dots fighting for attention.
The Back Light: Separation and Polish
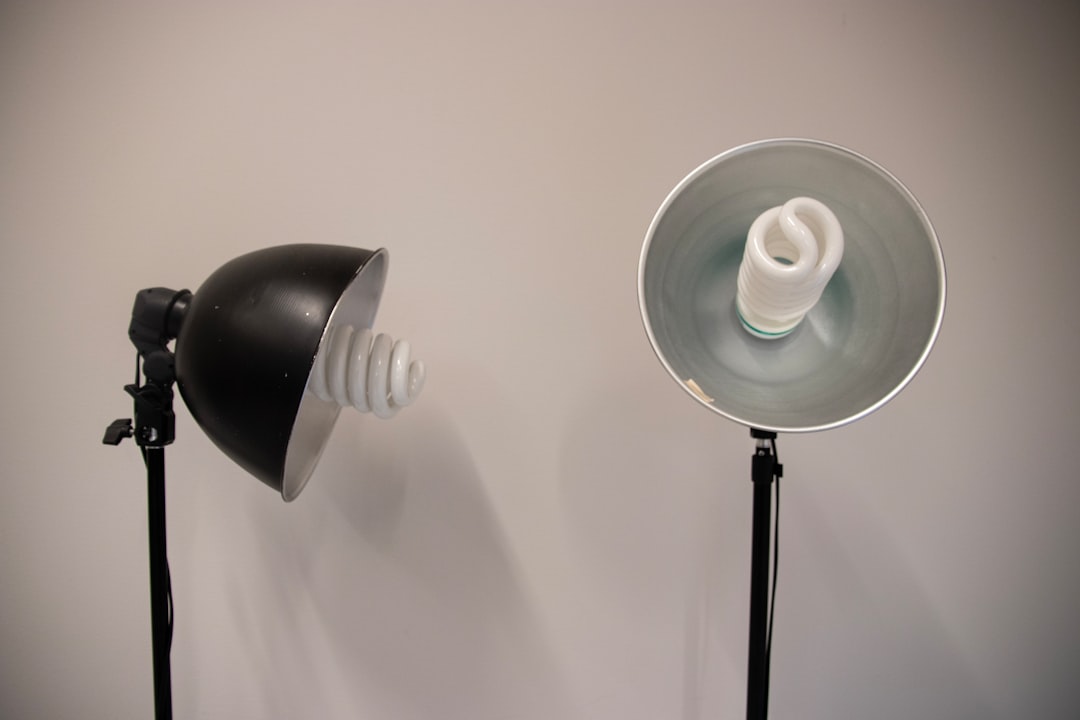
The back light, also called a rim light or hair light, sits behind the subject. Its job is to outline the shoulders, hair, jawline, or clothing. This creates separation from the background and gives the image a more professional finish.
Place the back light:
- Behind the subject, aimed toward the back of the head or shoulders
- High enough to stay out of the camera frame
- Off to one side for a rim effect
- Controlled with a grid, snoot, barn doors, or flag when possible
Start with the back light set lower than the key, then increase power until you see a clean edge. If the rim looks white and crunchy, it is too bright. If it spills into the lens, use a flag or move the light farther behind the subject.
Hair color matters. Dark hair may need more back light. Blond or gray hair needs less. Shiny fabric also catches rim light fast, so check the shoulders and collar before shooting 200 frames you later regret.
Simple Three-Point Lighting Setup for Portraits
Use this basic setup when you need reliable results:
- Set your camera first. Try ISO 100, f/5.6, and 1/125 second for flash. For continuous lights, adjust shutter speed and ISO as needed.
- Turn on only the key light. Position it 45 degrees to the subject and slightly above the eyes.
- Add fill. Keep it softer and weaker than the key. Start one stop lower.
- Add the back light. Aim it at the hair or shoulders. Watch for spill.
- Take a test shot. Zoom in on the eyes, nose shadow, jawline, and background edge.
- Adjust one light at a time. Do not change all three at once. That is how confusion wins.
For corporate portraits, keep the fill stronger and the shadows gentle. For actor headshots, shape the face with a stronger key and lighter fill. For fitness or character portraits, use a harder key and a stronger rim light to show form and texture.
Common Mistakes That Ruin Three-Point Lighting
- Putting every light at the same power: This removes depth and makes the portrait look flat.
- Placing the key too low: This creates horror-style shadows under the brows and nose.
- Using an uncontrolled back light: This causes flare, glowing ears, or harsh hair highlights.
- Ignoring the background: A bright subject against a bright background can still look flat.
- Skipping test shots: Small lighting problems become big editing problems later.
How to Make Portraits Look Professional
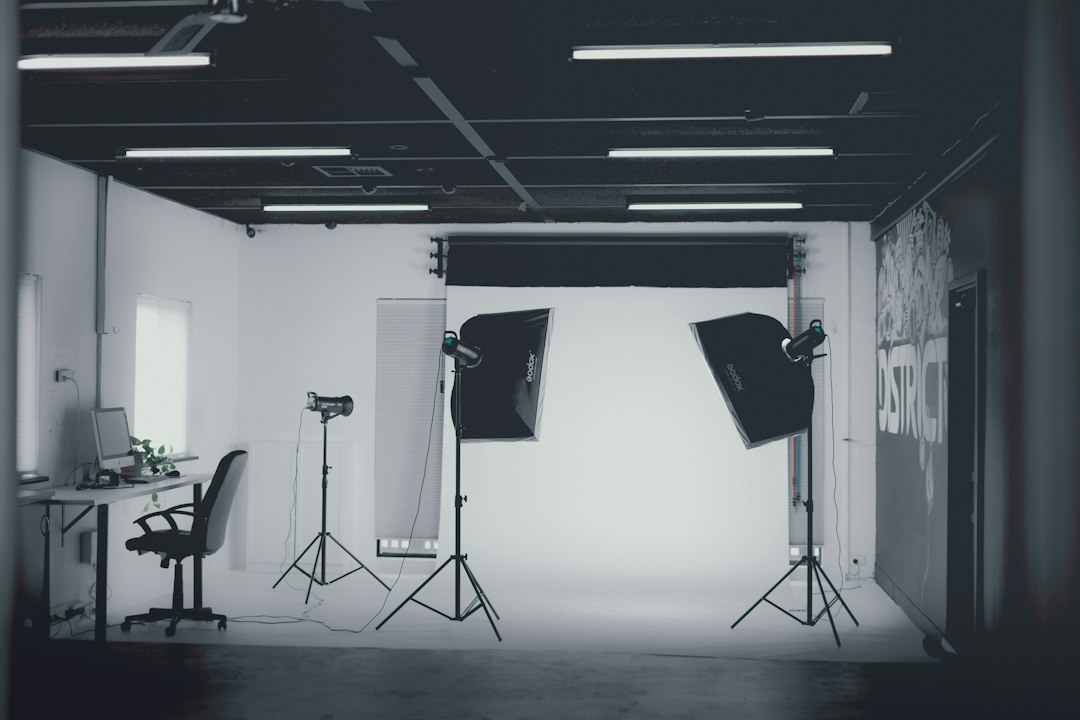
Professional portraits are rarely about expensive gear alone. They are about control. Keep the light intentional. Shape the face. Protect the highlights. Leave enough shadow to show form.
Use a larger modifier for softer skin. Feather the key light slightly across the face instead of aiming it straight at the nose. Move the subject away from the background to reduce unwanted shadows. Even three feet can make a visible difference.
Pay attention to posture and expression too. Great lighting cannot save a stiff pose. Ask the subject to turn their shoulders a little, bring the chin forward, and relax the mouth. Then refine the lights around that pose.
A good three-point setup should feel clean, not complicated. Start with the key, add fill only where needed, then use the back light for polish. Once each light has a clear job, your portraits gain depth, clarity, and a studio-quality finish.