
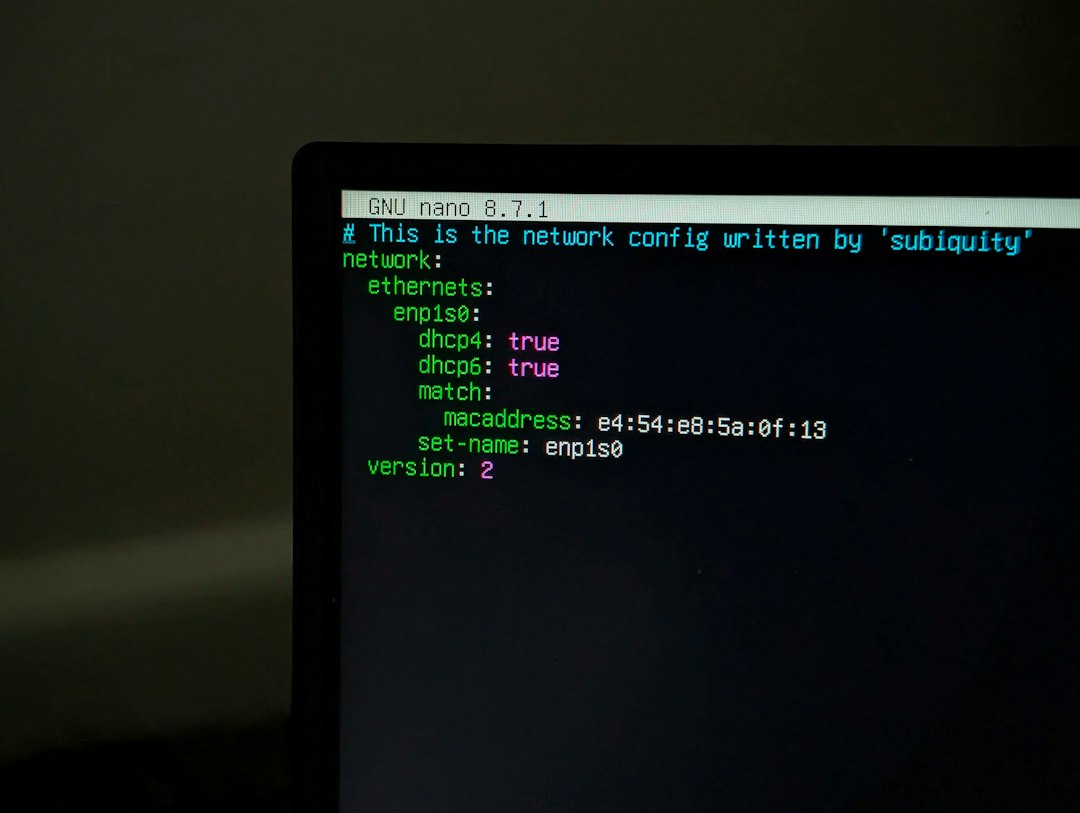
For most production imports, the mysql command line is the safest choice; phpMyAdmin is better for small files and quick hosting-panel jobs. The official MySQL manual shows the basic import pattern as mysql db_name < backup-file.sql, which is still the cleanest method for large restores [source: MySQL].
TLDR: A developer importing a 1.8 GB store backup should use the mysql command line, because it avoids browser limits and upload timeouts. A site owner restoring a 20 MB WordPress database can usually use phpMyAdmin without trouble. In one common hosting case, a 500 MB file may fail in phpMyAdmin after 60 seconds, while the same file can finish from the terminal in a few minutes. The best method depends on file size, server access, and comfort with commands.
Table of Contents
What an SQL File Import Actually Does
An SQL file is a plain text file filled with database instructions. It may contain table creation commands, insert statements, indexes, stored routines, triggers, or user data. When MySQL imports it, the server reads those instructions and rebuilds the database content.
That sounds simple. It often is not. The file may be too large. The server may block uploads. Character encoding may break names or symbols. A missing database name can stop the whole import. Honestly, it feels like database tools enjoy failing at 98% just to prove a point.
Two tools handle most imports: the mysql command line client and phpMyAdmin. Both can work well. They fit different users and different file sizes.

Method 1: Importing with the MySQL Command Line
The command line method runs from a terminal, shell, or SSH session. It is common on VPS servers, dedicated servers, cloud instances, and local development machines.
A typical import looks like this:
mysql -u username -p database_name < backup.sqlAfter the command runs, MySQL asks for the password. If the account has enough permissions, the import begins.
For a remote server, an administrator may first upload the file by SFTP or SCP, then run the command from the same server. That avoids downloading and uploading the file through a browser.
Basic command line steps
- Create the target database if it does not already exist.
- Upload the SQL file to the server or keep it on the local machine.
- Open a terminal or SSH session.
- Run the import command with the correct username, database name, and file path.
- Check the tables after the import finishes.
If the database does not exist, this command can create it first:
mysql -u username -p -e "CREATE DATABASE database_name CHARACTER SET utf8mb4 COLLATE utf8mb4_unicode_ci;"Then the import can run normally.
Why the command line usually wins
- Large files work better. Files of 500 MB, 2 GB, or more are more realistic from the terminal.
- No browser upload limit gets in the way.
- Timeout risk is lower. The process can keep running even when it takes time.
- Errors are clearer. MySQL usually prints the exact line that failed.
- Automation is easier. Backups and restores can be scripted.
The catch is access. A user needs terminal access, credentials, and some confidence with commands. On restricted shared hosting, SSH may not be available. In that case, phpMyAdmin may be the only built-in option.
Method 2: Importing with phpMyAdmin
phpMyAdmin is a web-based MySQL and MariaDB management tool. Many hosting control panels include it. It works through the browser, so it feels less scary than a terminal.
A normal phpMyAdmin import follows this path:
- Log in to the hosting panel.
- Open phpMyAdmin.
- Select the target database from the left side.
- Click the Import tab.
- Choose the
.sql,.zip, or.gzfile. - Confirm the format is SQL.
- Click Import.
For small sites, this is quick. A 10 MB contact-form database may restore in seconds. A 50 MB WordPress database may also work fine, depending on the host.
Where phpMyAdmin gets annoying
phpMyAdmin depends on several PHP and web server settings. These include upload_max_filesize, post_max_size, max_execution_time, and memory limits. If the SQL file is larger than the upload limit, the import will fail before MySQL even gets a proper chance.
Expect to waste time on vague errors such as “No file uploaded” or “Script timeout passed.” It can take longer to diagnose the limit than to run the actual import from SSH.
Compressed files help. A .sql.gz file may shrink a 300 MB SQL dump to 40 MB. That can slip under a hosting upload limit. Still, decompression and execution time can fail if the database is complex.
Command Line vs phpMyAdmin: Which Should Be Used?
| Situation | Best Choice | Reason |
|---|---|---|
| SQL file under 50 MB | phpMyAdmin | Fast and simple through the browser |
| SQL file over 200 MB | mysql command line | Fewer upload and timeout issues |
| No SSH access | phpMyAdmin | Often available in hosting panels |
| Automated restore | mysql command line | Works well in scripts and cron jobs |
| Beginner restoring a small site | phpMyAdmin | Visual interface is easier |
A database administrator will usually choose the terminal. A nontechnical site owner may prefer phpMyAdmin for a small restore. Neither choice is “better” in every case. The file size and server limits decide most of it.
Common Import Problems
File is too large
With phpMyAdmin, this usually means a PHP upload limit. The user can compress the file, split it into smaller parts, or ask the host to raise the limit. With command line access, the same file can often be imported directly.
Unknown database error
This means the target database does not exist, or the command has the wrong database name. Creating the database first fixes it.
Access denied
The MySQL user may not have permission to create tables, insert rows, or run routines. The account needs the right privileges for the selected database.
Character encoding looks broken
The import may have used the wrong character set. For modern websites, utf8mb4 is usually the safe choice. It supports emojis and a wider range of symbols.
Import stops on duplicate entries
The target database may already contain rows with the same primary keys. The administrator may need to empty the tables first, import into a fresh database, or edit the dump file.
Best Practices Before Importing
- Make a fresh backup before replacing any live database.
- Import into a test database first when the file comes from another server.
- Check the file size before choosing phpMyAdmin.
- Use
utf8mb4for modern web apps. - Keep the original SQL file until the restored site is checked.
- Review error messages instead of rerunning the same failed import blindly.
For live websites, the safest path is simple: create a backup, restore to a test database, verify the data, then switch the app configuration if everything looks correct. That reduces panic when something breaks.
FAQ
Can phpMyAdmin import a large SQL file?
It can, but only if hosting limits allow it. Upload size, memory, and execution time limits often stop large SQL files. For files over a few hundred megabytes, the mysql command line is usually more reliable.
What is the fastest way to import an SQL file to MySQL?
The command line is usually fastest, especially when the SQL file is already on the server. It avoids browser upload time and PHP limits.
Does the database need to exist before import?
Usually, yes. Some SQL dumps include CREATE DATABASE and USE statements. Many do not. Creating the target database first prevents a common failure.
Can a compressed SQL file be imported?
phpMyAdmin often accepts .zip or .gz files. From the command line, a compressed file can be imported with tools such as gunzip or a pipe command.
Which method is better for WordPress?
For small WordPress sites, phpMyAdmin is fine. For large WooCommerce stores, membership sites, or blogs with years of data, the command line is the safer choice.