
Streaming DJ sets is no longer optional. It is part of the culture. Fans expect clean visuals, multiple angles, and smooth switching. The good news? You can build a professional 6-camera setup using OBS without losing your mind. Even better, this is the same structure many top streamers use today.
TLDR: A 6-camera OBS setup lets you create dynamic, professional DJ streams with multiple angles and smooth transitions. You need the right cameras, capture devices, lighting, and a smart scene layout inside OBS. Use audio routing carefully and organize scenes before going live. With practice, you can produce broadcasts that look like 70% of professional streamers do today.
Let’s break it down. Simple. Step by step. Fun. And stress free.
Table of Contents
Why Use 6 Cameras?
Because one camera is boring.
Multiple angles keep viewers watching. They create energy. They make your stream feel alive.
Here’s what six cameras give you:
- Wide room shot for atmosphere
- Close-up of hands on the mixer
- Turntable angle or deck view
- Face cam for connection
- Side profile for movement
- Crowd or LED light shot for mood
This variety creates rhythm. Visual rhythm.
Professional streamers know this. That’s why multi-cam setups dominate Twitch, YouTube, and Kick.
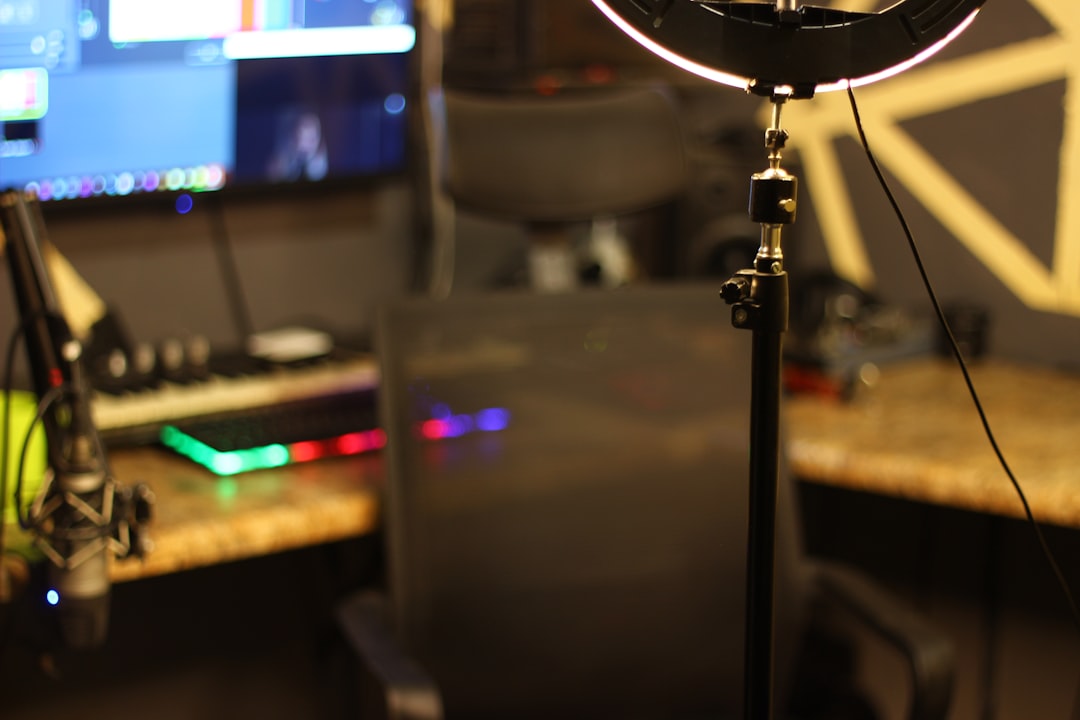
The Gear You Need
Let’s keep it realistic. You do not need a TV truck.
You need:
- 6 cameras (DSLR, mirrorless, action cams, or HDMI webcams)
- Capture cards (USB or PCIe)
- A powerful computer
- Audio interface or DJ mixer with USB out
- Lighting setup
- Tripods or mounting arms
Tip: Identical cameras make color matching easier. But it is not required.
Your Computer Matters
Six camera feeds eat resources.
Your PC should have:
- At least 16GB RAM (32GB recommended)
- Modern multi-core CPU (Ryzen 7 or Intel i7+)
- Dedicated GPU (NVIDIA preferred for NVENC encoding)
- SSD storage
OBS relies heavily on encoding performance. Hardware encoding reduces CPU load. That means smoother streams.
Step 1: Connect All Cameras
Each camera connects via HDMI to a capture card.
If using USB capture devices:
- Plug into separate USB controllers if possible
- Avoid cheap USB hubs
- Test each camera individually first
Name each source clearly in OBS.
For example:
- Cam 1 Wide
- Cam 2 Hands
- Cam 3 Deck Left
- Cam 4 Face
- Cam 5 Side
- Cam 6 Lights
Organization now saves panic later.
Step 2: Build Scenes the Smart Way
Do not dump all cameras into one scene and call it a day.
Create separate scenes:
- Starting Soon
- Main Wide
- Hands Close
- Deck Focus
- Face Cam
- Split Screen Combo
- BRB Screen
Then use Studio Mode in OBS. This lets you preview before switching live.
That is how professionals avoid awkward transitions.
Step 3: Master the Split Screens
Here is where magic happens.
Inside OBS:
- Add multiple video capture sources into one scene.
- Resize them using Alt-drag crop.
- Align them using snapping tools.
- Add borders or subtle shadows.
You can show:
- Hands and face together
- Wide shot with small deck inset
- Three-angle performance view
This mimics live festival broadcasts.
Image not found in postmetaStep 4: Audio Setup Done Right
Good video with bad audio? Game over.
Most DJs connect their mixer USB output directly into the computer.
Inside OBS:
- Disable desktop audio if not needed
- Add your mixer as an audio input source
- Set sample rate to match your mixer (usually 44.1kHz or 48kHz)
- Watch for clipping
Keep audio peaking around -6dB.
Add a limiter filter in OBS. Just in case.
If using a mic:
- Add noise gate
- Add compressor
- Balance mic and master audio properly
Clean sound = professional stream.
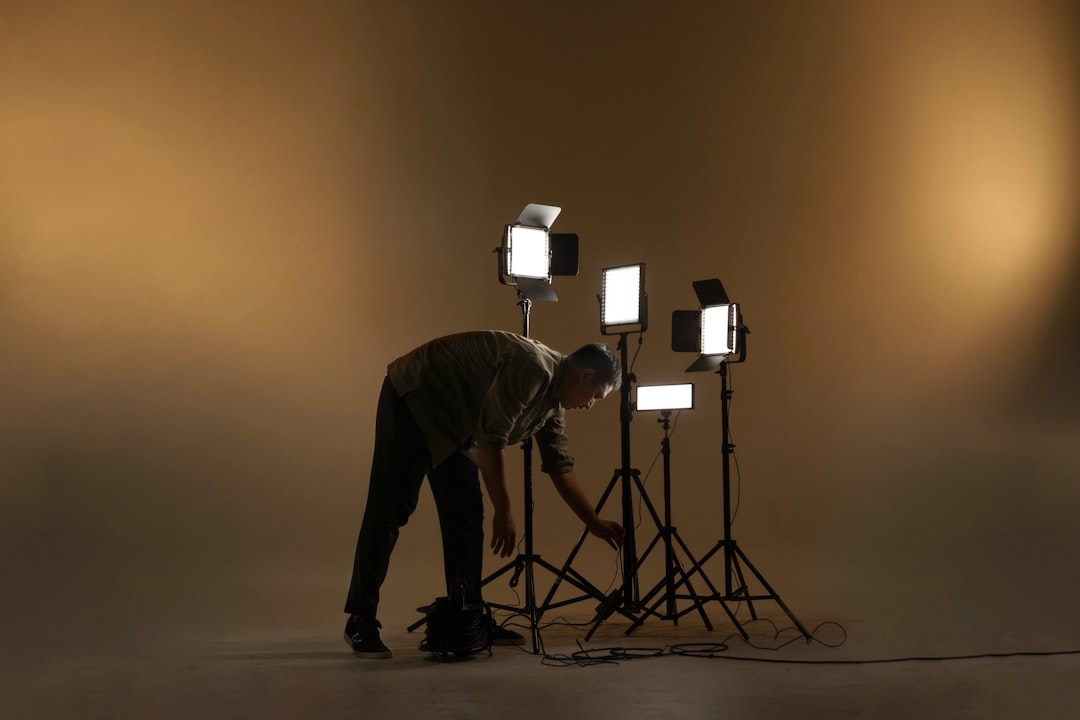
Step 5: Lighting Is Not Optional
Cameras need light.
Even expensive cameras look bad in poor lighting.
Basic lighting setup:
- Key light (main front light)
- Fill light (soft side light)
- Backlight (separation from background)
- Ambient colored lights (vibe builders)
Popular choice: LED panels with adjustable color temperature.
Keep skin tones natural. Avoid harsh shadows.
Step 6: Smooth Camera Switching
Now the fun part.
Switch rhythmically.
Match camera changes to:
- Beat drops
- Build-ups
- Transitions
- Crowd moments
Use hotkeys or a Stream Deck.
A Stream Deck speeds everything up.
Assign each scene to a button. Instant switching.
Add subtle transitions like:
- Fade (200–400ms)
- Cut for impact drops
- Swipe for energy builds
Do not overuse wild transitions. Keep it classy.
CPU and Performance Optimization
Six cameras can overload your machine.
To stay stable:
- Lower camera output resolution if needed
- Set base canvas to 1080p
- Stream at 1080p or 720p depending on bitrate
- Use NVENC encoder
- Close background apps
Test for at least 30 minutes before going live.
Watch dropped frames in OBS stats.
If you see stuttering, reduce load.
Backup Plan Like a Pro
Professionals always prepare for failure.
You should too.
Have:
- Spare HDMI cables
- Backup USB cable
- Extra camera battery or AC adapter
- A “Technical Difficulties” scene ready
If a camera dies, switch to wide shot calmly.
Viewers respect smooth recovery.
Create a Broadcast Flow
Think like a show producer.
Your stream should feel structured.
Example flow:
- Starting soon screen (5 minutes)
- Intro wide shot
- Energy build with dynamic cuts
- Peak moment rapid switching
- Mid-set chill with smoother fades
- Outro close-up and thank viewers
This creates narrative.
Narrative keeps viewers longer.
Color Matching Your Cameras
Different cameras. Different colors.
Fix this inside OBS.
Right-click source → Filters → Add Color Correction.
Adjust:
- Gamma
- Contrast
- Saturation
- White balance
Match skin tones first.
Then background.
Consistency feels professional.
Why 70% of Pros Use This Structure
Because it works.
Six cameras offer:
- Engagement
- Energy
- Flexibility
- Production value
It allows quick adaptation.
Technical glitch? Switch angle.
Boring moment? Cut to hands.
Massive drop? Face cam reaction.
Viewers stay immersed.
Final Tips for DJ Streaming Success
- Rehearse switching before going live
- Record locally even if streaming
- Monitor stream on a second device
- Keep overlays minimal
- Stay hydrated
And remember this.
You are not just playing music.
You are producing a live show.
Think like a performer.
Think like a director.
OBS is your control room.
Your six cameras are your crew.
Once you get comfortable, it becomes second nature.
Switch. Drop. Fade. Cut.
Music and visuals moving together.
That is when your DJ streams stop looking amateur.
That is when they start looking broadcast ready.
Now fire up OBS. Set those scenes. And press go live.