Every computer has its limits. Over time, parts wear out. Sometimes they act strange before totally breaking down. Instead of panicking, let’s learn how to diagnose failing hardware the fun and simple way!
Table of Contents
Why Does Computer Hardware Fail?
Your computer’s parts do a lot of work. Just like car engines or light bulbs, they have a lifespan. Things like heat, dust, and power surges can shorten that life. Don’t worry. We’re going to break it down together.
Common Signs of Failing Hardware
If your computer starts acting up, these are clues something might be failing:
- Random restarts: Boom! Your PC restarts without warning.
- Blue Screens of Death (BSOD): The scary blue screen shows up often.
- Slow performance: Everything crawls, even basic stuff.
- Weird noises: Clicking, grinding, or beeping from inside the case.
- Freezes or crashes: Programs lock up or crash often.
These are warning signs. The next step is figuring out which part is crying for help.
Parts That Can Fail
Your computer has many parts. Here are the usual suspects when trouble strikes:
- Hard Drive (HDD or SSD)
- Memory (RAM)
- CPU (Central Processing Unit)
- GPU (Graphics Card)
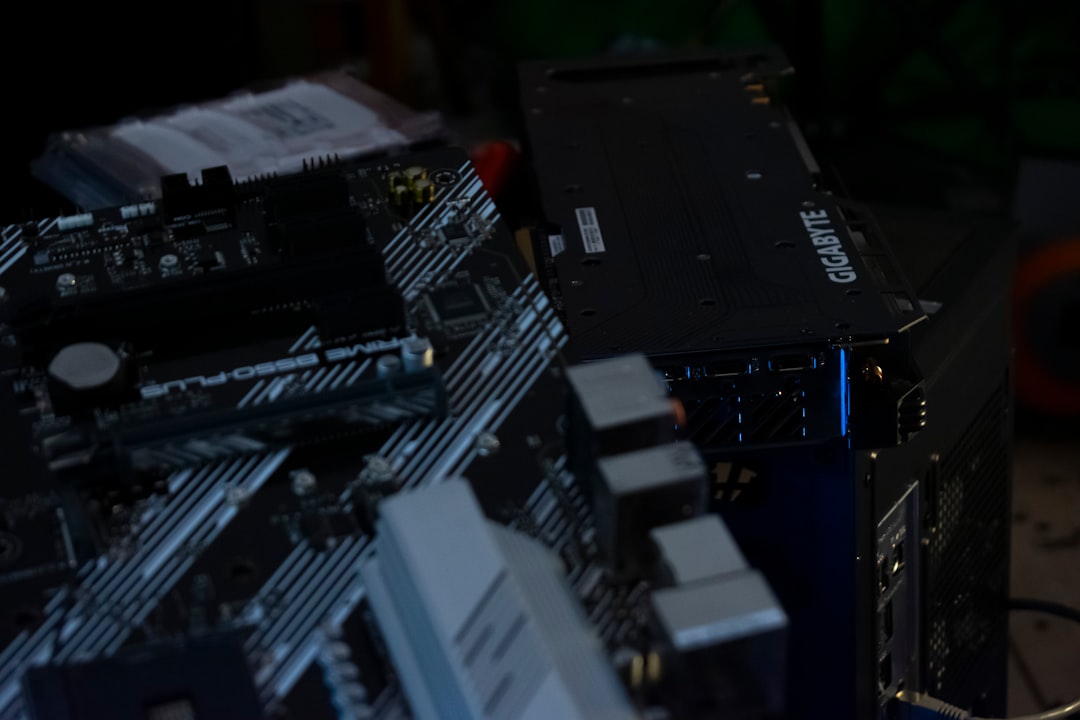
- Motherboard
- Power Supply Unit (PSU)
- Cooling Fan
Let’s go through each one and learn how to diagnose them easily.
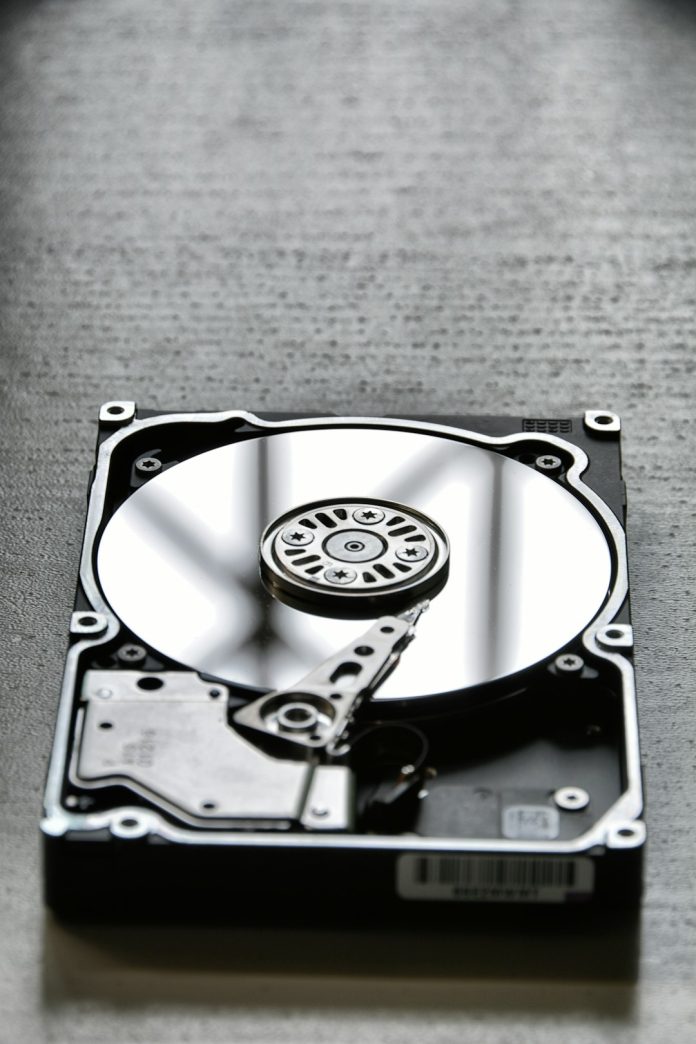
1. Hard Drive Issues
Symptoms: Clicking sounds, super slow file access, missing data, BSODs.
Quick Tests:
- Run CrystalDiskInfo to check the drive’s health status.
- Use CHKDSK on Windows to scan for bad sectors.
- If your system won’t boot, try booting from a USB stick.
SSDs fail quietly. They may just stop showing up one day. Back up often!

2. RAM Problems
Symptoms: Apps crashing, random reboots, bad performance under load.
Quick Tests:
- Use Windows Memory Diagnostic tool (Type mdsched in the Start menu).
- For deeper tests, try MemTest86 via USB.
- Try removing one stick at a time and booting up.
If pulling out half the RAM makes your PC work better, you’ve got a bad stick!
3. CPU Troubles
Symptoms: Blue screens, apps crashing, overheating, total no-boot.
The good news? CPUs rarely die. But when they do, they go big!
Quick Checks:
- Check temps using HWMonitor or Core Temp.
- Make sure the fan is spinning.
- Clear the dust. Too much dust = burning chip.
If you’re overclocking, try stopping that. Too much speed kills.
4. GPU Glitches
Symptoms: Artifacts (weird lines or pixels), crashes during games, no display.
Quick Tests:
- Re-seat the GPU in its slot.
- Update or roll back the driver. Bad drivers = chaos.
- Run stress-test tools like FurMark (watch your temps carefully).
Try another monitor or cable. Sometimes it’s the display, not the card!

5. Motherboard Mayhem
Symptoms: Nothing turns on, beeping codes, parts not recognized.
This is often the trickiest to diagnose. But don’t give up yet!
Check the following:
- Are any capacitors (little cylinders) leaking or swollen?
- Do the fans spin at all?
- Listen for beep codes and check them in your motherboard manual.
Try basic hardware only. Remove other parts and see if it boots.
6. Power Supply Woes
Symptoms: PC won’t turn on, shuts down randomly, or exhibits inconsistent behavior.
Quick Tests:
- Use a power supply tester.
- Try a known-good PSU (from another PC).
- If the fan doesn’t spin at all – that’s a big fat clue!
Good tip: Never skimp on your power supply. A bad PSU can fry other parts!
7. Fan Failures and Overheating
Symptoms: Increased noise, high temperatures, shutdowns during heavy use.
Tools to Help:
- HWMonitor – Check internal temps.
- Open your case and make sure all fans spin.
Clean fans with compressed air. They’re like little vacuum cleaners otherwise!
Bonus: Check Cables and Connections
Weird errors? Nothing works? Sometimes it’s just a loose cable. Trust us. We’ve all been there.
Before replacing expensive parts, try this:
- Unplug and re-plug every cable inside.
- Check everything is firmly seated (RAM, GPU, cables).
Still no luck? You might be dealing with more than one failing part.

Using BIOS and POST
When your PC starts, it runs a Power-On Self-Test, or POST. If it fails, it often beeps!
Listen closely: Different beep patterns mean different issues. Google your motherboard model + beep codes to decode them.
BIOS can also show you temps and some voltage readings. Check them if you’re curious! Just don’t change settings unless you know what they do.
When to Seek Help
If everything looks bad, and swapping parts doesn’t fix it, it’s okay to ask for help.
- Talk to a tech-savvy friend.
- Visit a local repair shop.
- If it’s under warranty, call support!
Seriously. Don’t stress. You’re not alone.
Prevention is Key
Want to avoid more melted motherboards in the future? Follow these tips:
- Keep your system clean – dust is the enemy.
- Monitor temperatures regularly.
- Use a surge protector.
- Back up your data weekly. Minimum!
- Don’t block airflow or run your PC in a hot room.
Final Thoughts
Diagnosing bad hardware doesn’t have to be scary. Take it step by step. Use free tools. Watch for clues. Your computer talks to you – maybe with clicks, beeps, or error messages. All you have to do is listen.
With a little patience and basic knowledge, you can become your own PC detective. Suit up, grab a screwdriver, and keep your tech alive!
