
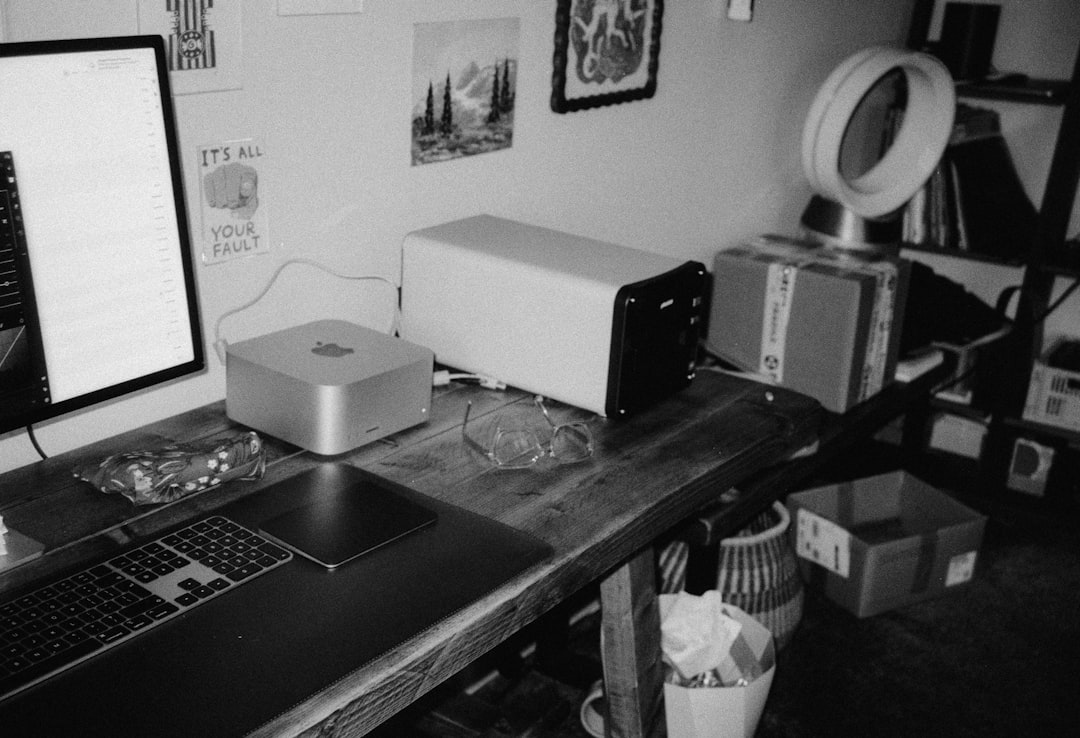
Embarking on the journey of building a Hackintosh — a non-Apple computer running macOS — can be both exciting and overwhelming. At the heart of this process is the bootloader, the critical software that allows your machine to start macOS. For years, many relied on Clover, a long-standing bootloader in the Hackintosh community. However, OpenCore has now overwhelmingly taken its place as the modern, more robust alternative. In this guide, new users will understand why OpenCore has become the preferred choice, and how beginners can get started with it safely and effectively.
Table of Contents
TL;DR
OpenCore is a modern bootloader that has replaced Clover in most Hackintosh setups due to its superior stability, configurability, and compatibility with macOS updates. It provides near-native functionality, offering a seamless user experience that’s closer to real Macs. Though it has a steeper learning curve than Clover, OpenCore provides better documentation and long-term reliability. In this guide, beginners will learn why it’s worth the transition and how to start building their Hackintosh using OpenCore.
Why Bootloaders Matter in Hackintosh
A bootloader acts as the middleman between your computer’s firmware (UEFI/BIOS) and the macOS operating system. Apple designs macOS to work exclusively on its hardware, so in order to trick macOS into running on non-Apple hardware, a bootloader must imitate the essential parts of Apple’s system firmware. That’s where tools like Clover and OpenCore come into play.
Bootloaders handle:
- Spoofing Apple hardware identifiers
- Loading macOS kernel extensions (kexts) for unsupported hardware
- Injecting necessary device properties via configuration files
- Managing boot-time drivers and settings
Without a correctly configured bootloader, macOS won’t boot or function properly. For anyone serious about stability and performance, especially across macOS updates, choosing the right bootloader is crucial.
The Rise and Decline of Clover
Clover was once the staple bootloader for Hackintosh users. Its graphical interface, flexibility, and wide compatibility made it the go-to option for many years. Clover also introduced innovations like GUI boot menus and NVRAM emulation, which simplified multi-boot scenarios and allowed macOS to work on a broader range of PC hardware.
However, Clover had its limitations:
- Inconsistent update schedule and community support
- Inability to handle newer macOS security models, especially from Catalina onward
- Reliance on legacy techniques like CSM and injected drivers, which Apple has since deprecated
- Frequent kernel panics and failures after macOS updates
Once macOS Catalina introduced stricter security policies and Big Sur shifted to the Signed System Volume (SSV) system, Clover began to fall behind. Its older architecture could no longer keep up with Apple’s rapid evolution in firmware and security requirements.
Why OpenCore Took Over
OpenCore was designed to replace Clover from the ground up with a focus on security, transparency, and accuracy. It mimics Apple’s exact boot process, offering a much more native experience for Hackintosh users. This attention to detail allows OpenCore to remain compatible with newer macOS versions with fewer issues and minimal patching.
Key reasons why OpenCore replaced Clover:
- Tight hardware compatibility: OpenCore uses proper ACPI patching and device property injection, resulting in better hardware performance and fewer errors.
- Superior documentation: The OpenCore Install Guide (found on the Dortania website) is a step-by-step, well-maintained resource that guides users through the process.
- Accurate Mac emulation: SMBIOS injection, Secure Boot, and memory training are done in line with real Apple firmware behavior, reducing the need for excessive patches.
- Reliable macOS updates: Machines configured with OpenCore can often update macOS through standard methods with no post-update maintenance required.
- Extended lifespan: OpenCore’s modular design makes it easy to update part-by-part, ensuring long-term sustainability.
Getting Started with OpenCore
Though more robust and accurate, OpenCore has a steeper learning curve compared to Clover. Beginners should prepare to read documentation thoroughly and proceed step-by-step. Here are the essential stages of setting up OpenCore:
1. Understand Your Hardware
First, review your computer’s specifications. Compatibility is key. OpenCore works best with Intel chipsets, though AMD support is also growing through community projects.
- Identify your CPU, GPU, chipset, and Wi-Fi/Bluetooth modules
- Check compatibility status with macOS versions
- Consult the Dortania compatibility guide
2. Proper BIOS Settings
Before installing OpenCore, set your BIOS/UEFI to appropriate defaults for macOS:
- Disable CSM (Compatibility Support Module)
- Enable XHCI Handoff
- Set OS type to Windows (not macOS)
- Enable AHCI for SATA configuration
Failing to configure the BIOS correctly is a common reason for OpenCore boot failures.
3. Building the EFI Folder
OpenCore requires an EFI partition to load necessary files for booting macOS. This includes:
- OpenCore.efi: the core bootloader
- Drivers: such as HfsPlus.efi for accessing macOS file systems
- ACPI tables: for fixing things like sleep, USB, and power management
- Kexts: third-party kernel extensions to support missing functionality
- config.plist: the configuration file that ties everything together
Use ProperTree to edit your config.plist and follow sectioned advice from the Dortania Install Guide relevant to your CPU and macOS version.
Comparing OpenCore and Clover: At a Glance
| Feature | OpenCore | Clover |
|---|---|---|
| Native macOS Emulation | Excellent | Good |
| macOS Update Stability | High | Medium to Low |
| Documentation Quality | Extensive (Dortania) | Limited/Varied |
| Community Activity | Active and Growing | Dwindling |
| Security Patching | Modern and Ongoing | Legacy Techniques |
Troubleshooting and Tips
New Hackintosh users should expect some issues in the early stages. Here are tips for smoother sailing:
- Always test your EFI on a USB stick before installing to your internal disk
- Use the OpenCore Sanity Checker to validate your config.plist
- Document each step for your system; no two setups are exactly alike
- Join communities like r/hackintosh and tonymacx86 for additional support
Conclusion
For beginners serious about building a stable and long-lasting Hackintosh, OpenCore is now the clear choice. While it has a steeper learning curve than Clover, it offers better compatibility, reliability, and performance. With detailed documentation and a growing support community, OpenCore has democratized the Hackintosh experience — bringing it closer than ever to feeling like the real thing.
While Clover served the community well during the early years, OpenCore’s architectural advantages make it the standard for a modern, future-proof Hackintosh build.