
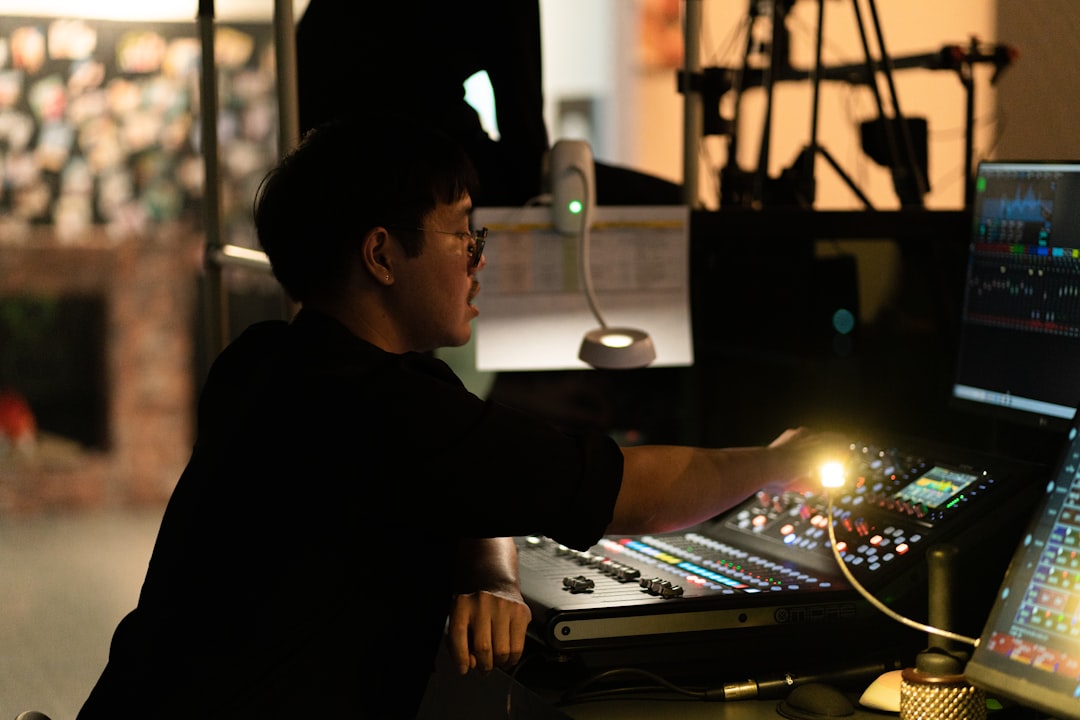
Use a 3 point lighting system when you need clean, controlled video that flatters the subject and separates them from the background. Start with the key light, soften shadows with fill, then place a backlight behind the subject for shape and depth. This simple setup is the standard for interviews, product videos, training content, podcasts, and professional studio work because it gives you control without needing a large crew.
TLDR: A 3 point lighting system uses a key light, fill light, and backlight to create balanced, professional video lighting. For example, a small business filming a 2 minute customer story in an office can use two LED panels and one small backlight to reduce harsh facial shadows by around 60% compared with ceiling lights alone. Place the key light 30 to 45 degrees from the subject, keep the fill dimmer, and use the backlight to add separation from the background.
Table of Contents
What Is a 3 Point Lighting System?
A 3 point lighting system is a lighting method built around three separate light sources: the key light, the fill light, and the backlight. Each light has a specific job. Together, they shape the face, manage contrast, and make the image feel intentional.
This setup is used in film, video production, photography, webinars, online courses, corporate interviews, and YouTube videos. It works because it solves three common problems at once: flat faces, ugly shadows, and subjects blending into the background.
The Key Light: Your Main Source
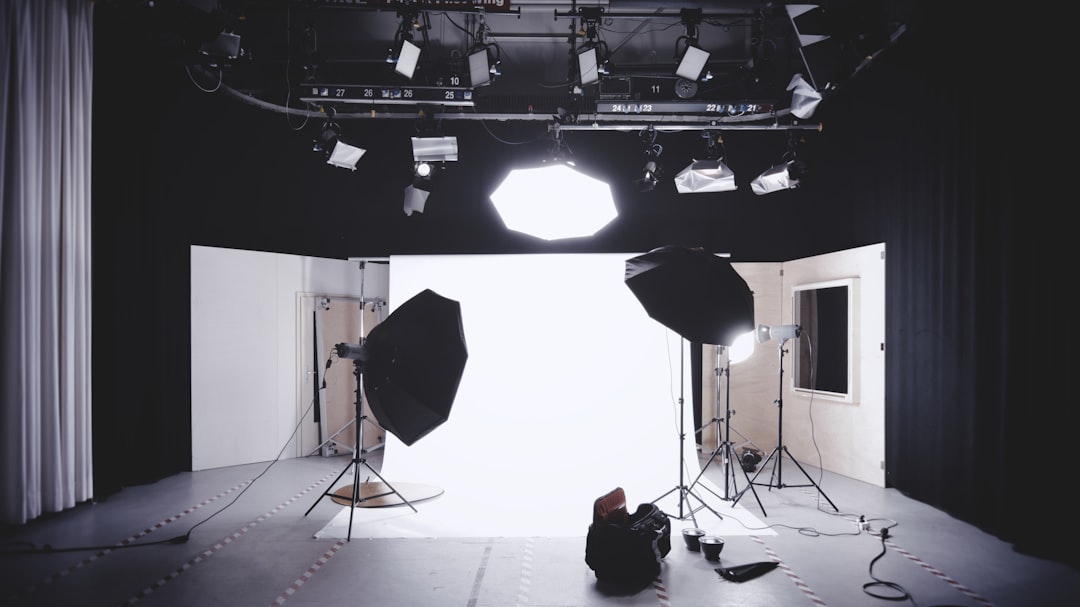
The key light is the main light in the scene. It defines the overall exposure and creates the strongest highlights and shadows on the subject. If the key light is wrong, the whole shot usually feels wrong.
Place the key light about 30 to 45 degrees to one side of the camera and slightly above eye level. Aim it down toward the subject’s face. This creates shape across the face while keeping the eyes bright.
For interviews, a large soft source is usually best. Use a softbox, diffusion panel, umbrella, or bounced light. Hard light can work for dramatic scenes, but it tends to reveal skin texture and create sharp shadows. That may be useful for a thriller. It is rarely useful for a CEO interview.
- Best position: 30 to 45 degrees from the camera.
- Best height: Slightly above the subject’s eyes.
- Best quality: Soft for interviews, harder for stylized drama.
- Main purpose: Shape the face and set the exposure.
Honestly, it feels like half of bad “professional” videos are ruined before editing starts because the key light is too low, too harsh, or placed straight in front of the face. That gives you a flat, webcam style image. Fix the key first before touching anything else.
The Fill Light: Controlling Shadows
The fill light softens the shadows created by the key light. It does not remove all shadows. That is a common mistake. Shadows give faces dimension. The fill light should control contrast, not erase it.
Place the fill light on the opposite side of the key light. Keep it weaker. A good starting point is a 2:1 lighting ratio, where the key is about twice as bright as the fill. For more drama, use a 4:1 ratio. For beauty, education, or corporate work, a softer ratio often looks safer.
You do not always need a powered fill light. A white foam board, reflector, wall, or bounce card can work. This is useful in small rooms where adding another light creates spill everywhere.
- Low contrast look: Brighter fill, fewer visible shadows.
- High contrast look: Dimmer fill, stronger mood.
- Budget option: White foam board or reflector.
- Common mistake: Making the fill as bright as the key.
The Backlight: Separation and Depth
The backlight, also called a rim light or hair light, is placed behind the subject. It points toward the back of the head, shoulders, or upper body. Its job is to separate the subject from the background.
This is the light that makes a video look more polished. Without it, a dark jacket can disappear into a dark wall. With it, the edge of the subject gains a clean outline. The image feels deeper and more controlled.
Place the backlight above and behind the subject, out of frame. Aim it carefully so it does not hit the lens. If you see haze, glare, or a washed out image, use barn doors, a grid, black wrap, or simply change the angle.
Basic 3 Point Lighting Placement
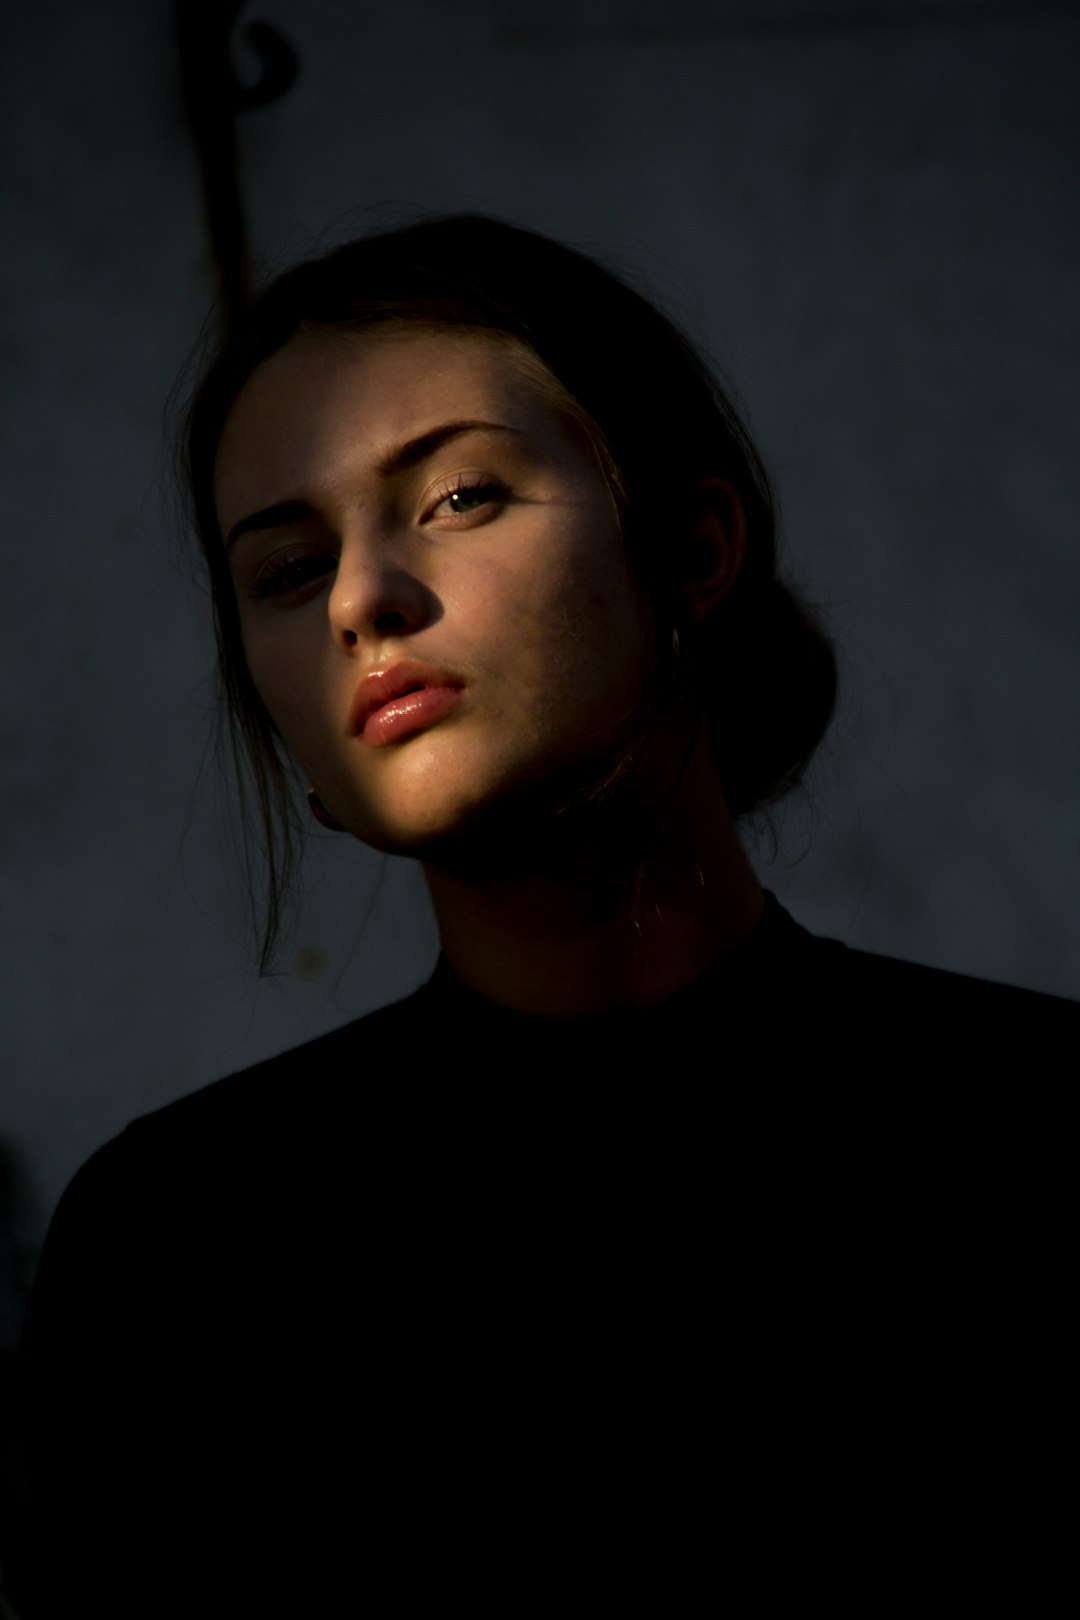
Start with the camera and subject. Then build the lighting around them. Do not turn on every light at once. Set each one separately so you can see what it actually does.
- Turn off room lights if they create ugly color or overhead shadows.
- Set the key light first and expose for the face.
- Add the fill light until shadows look natural, not crushed.
- Add the backlight for separation from the background.
- Check the background and remove bright distractions.
- Record a test clip and review it on a proper monitor if possible.
Expect to waste time if you rely only on the camera’s tiny screen. It may take 20 seconds longer to check a test clip on a monitor, but it can save an hour of fixing exposure and skin tone later.
Recommended Light Ratios
Lighting ratios describe the brightness difference between the key and fill. They help keep your work consistent. You do not need a light meter for every project, but you should understand the idea.
- 1:1 ratio: Very flat, useful for beauty or medical training videos.
- 2:1 ratio: Natural and clean, good for interviews and business content.
- 4:1 ratio: More contrast, useful for dramatic portraits.
- 8:1 ratio: Strong drama, often too harsh for standard corporate video.
For most professional video lighting, start around 2:1. It gives the face shape without making the subject look severe. If the project calls for a serious mood, reduce the fill. If the client wants bright and friendly, raise it slightly.
Color Temperature and White Balance
Good lighting can still look bad if the color temperature is mixed. Daylight is usually around 5600K. Tungsten lamps are around 3200K. Many modern LED panels can switch between both.
Keep your lights in the same color range unless you have a clear creative reason. Mixed light from windows, ceiling fixtures, and cheap LEDs can make skin tones look green, orange, or gray. Set your camera’s white balance manually. Auto white balance can shift during a take, which looks amateur and is hard to fix.
Common Mistakes to Avoid
- Placing the key light too close to the camera: This flattens the face.
- Using overhead office lights: They create eye sockets and harsh nose shadows.
- Overpowering the fill: This removes depth and shape.
- Forgetting the backlight: The subject may blend into the background.
- Ignoring reflections: Glasses, framed art, and glossy tables can catch light.
- Mixing color temperatures: Skin tones become harder to correct.
Gear for Professional Video Lighting
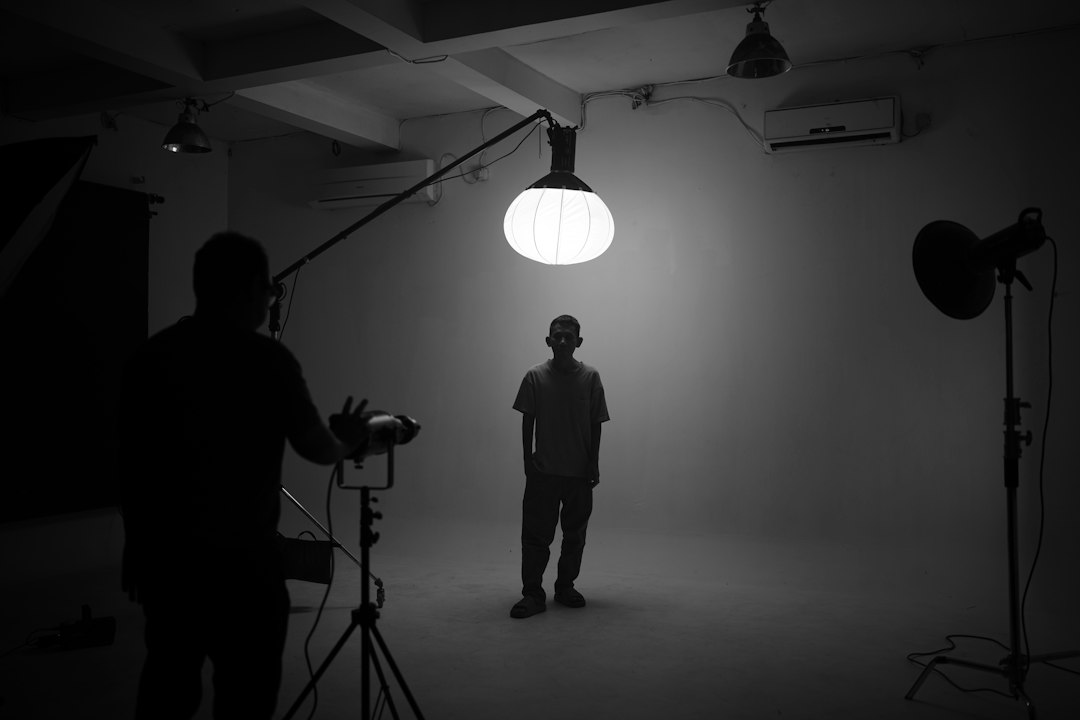
You do not need the most expensive kit. You need controllable lights. Look for brightness control, accurate color, quiet cooling, and modifier support. A basic professional setup may include two LED panels, one compact backlight, two softboxes, three stands, sandbags, and extension cables.
For interviews, softboxes or lanterns are reliable. For product videos, smaller hard lights may help define edges and texture. For podcasts, compact LED panels with grids can reduce spill and keep the background clean.
Safety matters. Use sandbags on light stands. Tape down cables. Keep hot fixtures away from fabric. If people are moving through the set, assign someone to watch the gear. A falling light can injure someone and destroy a shoot.
Practical Setup for a Small Room
In a small office, place the subject at least 3 to 6 feet from the wall. Put the key light at 45 degrees from the camera. Use a dim reflector or weak fill on the other side. Place a small backlight high behind the subject, aimed at the shoulders.
If the room has a window, either use it as your key light or block it. Do not let it fight your LEDs. If sunlight changes every few minutes, close the blinds and use controlled lighting. Stable light is better than pretty light that keeps changing.
Final Checklist
- Key light: Soft, angled, and slightly above eye level.
- Fill light: Dimmer than the key and used only to control shadows.
- Backlight: Behind the subject for separation and depth.
- White balance: Manual and matched to the lights.
- Exposure: Checked on the face, not the background.
- Safety: Stands weighted, cables secured, heat managed.
A 3 point lighting system is not a rigid rule. It is a dependable starting structure. Once you understand what each light does, you can adapt it for interviews, livestreams, films, tutorials, and product shoots. The goal is simple: make the subject clear, shaped, and separated from the background while keeping the image believable.