
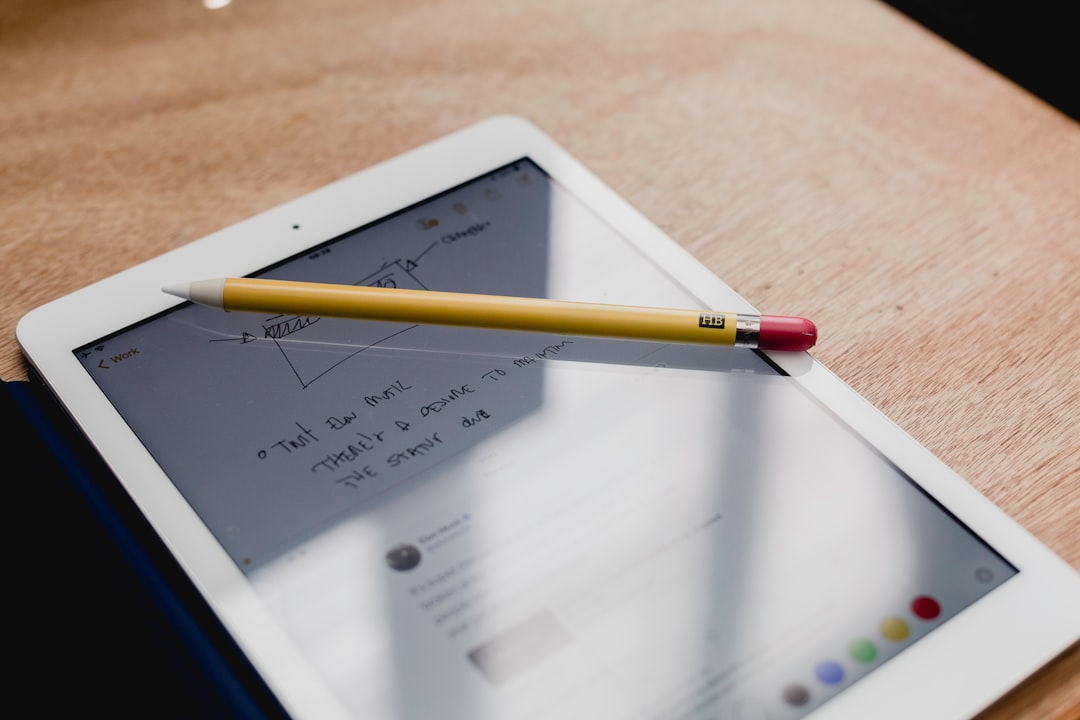
Your Apple Pencil can look perfectly connected in Bluetooth settings and still refuse to draw, tap, shade, or select anything on the iPad screen. This is one of those problems that feels mysterious because the device appears to be working, yet nothing happens when the tip touches the display. The good news is that most cases come down to a few fixable causes: pairing confusion, a worn or loose tip, app settings, low battery, or palm rejection getting in the way.
TLDR: If your Apple Pencil is connected but not writing, first check that it is charged, paired to the correct iPad, and supported by your model. Then inspect the tip, tighten it gently, or replace it if it is worn down. If writing still fails, test the Pencil in Apple Notes, restart the iPad, forget and re pair the Pencil, and review palm rejection or drawing app settings.
Table of Contents
Why an Apple Pencil Can Be Connected but Not Write
When your iPad says the Apple Pencil is connected, it usually means Bluetooth communication is active. However, writing requires more than a Bluetooth link. The iPad also needs to detect pressure, position, touch input, and sometimes tilt through the Pencil tip. If any part of that chain is interrupted, the Pencil may show as connected but behave as if it is invisible.
Common causes include:
- A loose or damaged tip that prevents accurate contact with the screen.
- Incorrect pairing after switching between iPads.
- Low battery or charging problems.
- App specific settings that disable drawing or select the wrong tool.
- Palm rejection conflicts in note taking and design apps.
- Screen protectors or dirt interfering with touch detection.
- Software glitches after iPadOS updates or long uptime.
The trick is to test the simplest things first before assuming the Pencil is broken.
Step 1: Confirm Compatibility
Before troubleshooting deeply, make sure your Apple Pencil model works with your iPad. Apple Pencil compatibility is more specific than many people expect.
Apple Pencil 1st generation works with older compatible iPads and pairs through a Lightning connector or adapter. Apple Pencil 2nd generation pairs magnetically on the side of supported iPads. Apple Pencil USB C attaches magnetically for storage but pairs and charges through USB C, and it does not support pressure sensitivity. Apple Pencil Pro works only with certain newer iPad models.
If you recently upgraded your iPad or borrowed someone else’s Pencil, compatibility may be the entire issue. A Pencil can appear physically suitable and still not be supported by the iPad’s hardware.
Step 2: Check the Battery and Charging Connection
A nearly dead Apple Pencil may connect briefly but fail to write reliably. Open the iPad’s battery widget or swipe into the widgets screen to check the Pencil battery level. If it is very low, charge it for at least 10 to 15 minutes before testing again.
For the Apple Pencil 2nd generation, attach it to the magnetic charging side of the iPad. Make sure it snaps into place cleanly and that no case is blocking the connection. Some thick protective cases interfere with charging, even if the Pencil seems attached.
For the Apple Pencil 1st generation, plug it into the iPad’s Lightning port or use the correct adapter. For USB C models, connect the cable directly and make sure the port is clean. If the Pencil does not show a charging indicator, try another cable or adapter.
Step 3: Tighten or Replace the Tip
The Pencil tip is one of the most overlooked causes of writing failure. The tip is not just a plastic point; it is part of the sensing system. If it is loose, cracked, flattened, or worn thin, the iPad may not register strokes properly.
Gently twist the tip clockwise until it is snug. Do not force it. If it keeps spinning, feels uneven, or looks visibly worn, replace it with a genuine or high quality compatible tip.
Signs of tip wear include:
- The Pencil skips while drawing lines.
- Strokes appear only when pressing hard.
- The tip feels rough, sharp, or scratchy.
- The plastic point is flattened on one side.
- The Pencil works at some angles but not others.
Important: Do not keep using a badly worn tip. If the internal metal part gets too close to the screen, it may scratch the display or damage a screen protector.
Step 4: Test in Apple Notes
If the Pencil is connected but not writing in one app, test it in Apple Notes. Open a new note, tap the markup or drawing tool, and try writing directly on the screen.
This test helps separate system problems from app problems. If the Pencil works in Notes but not in Procreate, GoodNotes, Notability, Photoshop, or another app, the Pencil itself is probably fine. The problem is likely a tool setting, palm rejection setting, layer issue, or app bug.
Inside drawing apps, check the following:
- Make sure you selected a brush, pen, or pencil tool instead of an eraser or selection tool.
- Confirm the brush size and opacity are not set to zero.
- Check that you are drawing on an unlocked, visible layer.
- Disable “draw with finger only” options if enabled.
- Update the app from the App Store.
Step 5: Forget and Re Pair the Apple Pencil
Sometimes the iPad remembers the Pencil but does not maintain a clean connection. Re pairing forces the iPad and Pencil to create a fresh Bluetooth relationship.
- Open Settings on your iPad.
- Tap Bluetooth.
- Find your Apple Pencil in the device list.
- Tap the information icon next to it.
- Select Forget This Device.
- Restart your iPad.
- Pair the Apple Pencil again using the correct method for your model.
For magnetic models, attach the Pencil to the side of the iPad and wait for the pairing prompt. For Lightning or USB C models, connect the Pencil physically and follow the on screen instructions.
Step 6: Restart and Update the iPad
A simple restart can fix temporary input glitches, especially after an iPad has been running for days or weeks. Turn the iPad off completely, wait about 30 seconds, and turn it back on. Then test the Pencil again in Notes.
You should also check for iPadOS updates. Go to Settings > General > Software Update. Updates often include fixes for Bluetooth, input responsiveness, and Pencil behavior. If you recently updated and the problem started immediately afterward, restarting and re pairing are still the best first steps.
Step 7: Clean the Screen and Remove Interference
A dirty screen can create strange input problems. Oils, dust, hand lotion, and debris may reduce sensitivity or cause the Pencil to skip. Clean the iPad screen with a soft, lint free microfiber cloth. Avoid harsh cleaners or soaking the display.
Screen protectors can also affect performance. Most quality glass and paper feel protectors work well with Apple Pencil, but cheap, thick, or damaged protectors may reduce accuracy. If the Pencil only fails in certain areas of the screen, inspect the protector for bubbles, cracks, lifted edges, or trapped dust.
Step 8: Understand Palm Rejection Problems
Palm rejection is the iPad’s ability to ignore your hand while recognizing the Pencil. When it works, writing feels natural. When it fails, your palm may create marks, move the page, interrupt strokes, or prevent writing entirely.
Palm rejection can be affected by both iPadOS and app settings. Some apps have their own writing posture settings, left handed or right handed modes, or options that determine whether fingers can draw. If your hand is resting heavily on the screen before the Pencil tip touches down, try placing the Pencil first, then resting your palm.
To improve palm rejection:
- Use an app that fully supports Apple Pencil input.
- Set the correct writing hand in the app’s settings.
- Disable finger drawing if you only want to write with Pencil.
- Keep your palm and screen dry.
- Try changing your hand angle or resting less weight on the display.
Step 9: Look for Hardware Damage
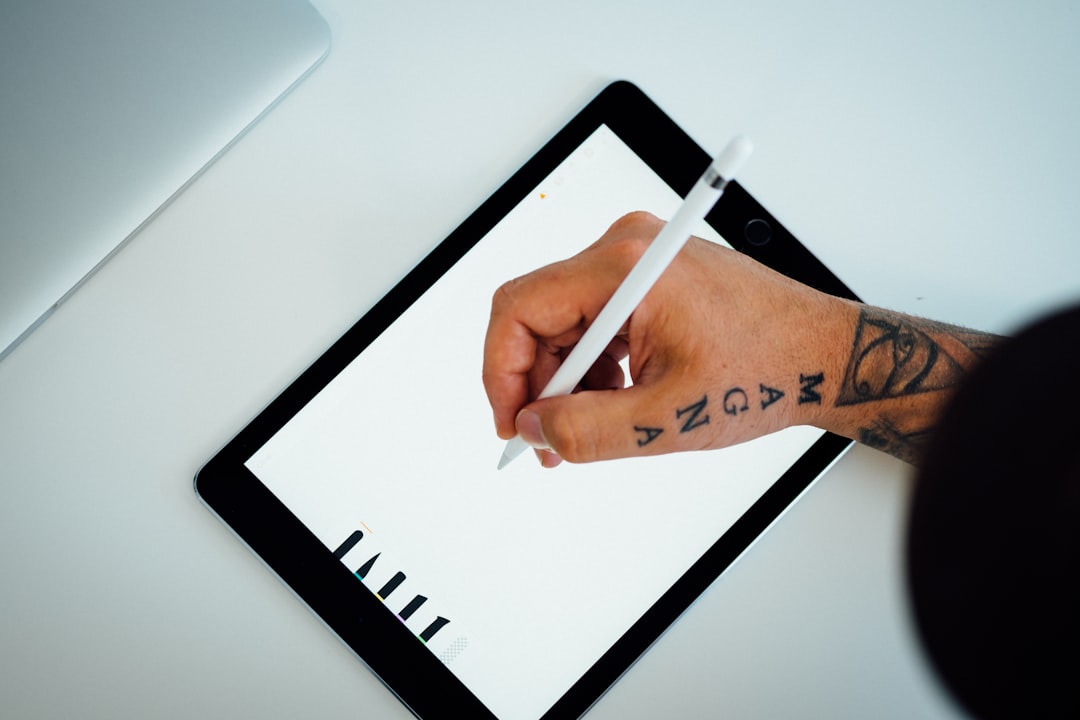
If the Apple Pencil has been dropped, bent, chewed by a pet, or exposed to moisture, it may connect but fail to transmit tip input correctly. Inspect the body for cracks, dents, separation, or a bent tip area. Also check whether the Pencil feels unusually warm while charging.
Test with another compatible iPad if possible. If the Pencil fails on multiple iPads, the Pencil is likely the problem. If another Apple Pencil works on your iPad, that also points toward a Pencil hardware issue. On the other hand, if multiple Pencils fail on the same iPad, the iPad’s screen or software may be responsible.
Quick Fix Checklist
If you want a fast troubleshooting order, follow this list:
- Charge the Apple Pencil.
- Check iPad and Pencil compatibility.
- Tighten or replace the tip.
- Test in Apple Notes.
- Forget the Pencil in Bluetooth settings.
- Restart the iPad.
- Pair the Pencil again.
- Update iPadOS and the problem app.
- Clean the screen and inspect the screen protector.
- Adjust palm rejection and finger drawing settings.
When to Contact Apple Support
If nothing works, it may be time to contact Apple Support or visit an Apple Store or authorized service provider. This is especially true if the Pencil will not charge, will not pair after being forgotten, has visible damage, or fails on every compatible iPad you test.
Apple Pencil issues are often small and solvable, but the symptoms can be misleading. A connected Pencil is not necessarily a working Pencil. By checking the battery, pairing, tip condition, app behavior, screen surface, and palm rejection settings, you can usually bring it back to life without replacing it. And if the problem does turn out to be hardware, you will know you have ruled out the common fixes first.