
PowerPoint can do more than help someone talk through slides. It can also run by itself. Like a tiny digital host. It can welcome guests, show event details, display menus, promote products, or guide visitors while you sip coffee nearby.
TLDR: To loop a PowerPoint presentation, open Slide Show, choose Set Up Slide Show, and turn on Loop continuously until Esc. Add timings so each slide moves on its own. Then start the show and let it repeat for your meeting, kiosk, booth, lobby, or event screen.
Table of Contents
Why Loop a PowerPoint?
A looping presentation is a slide deck that plays again and again. No clicking. No remote. No awkward “next slide please” moment.
It is perfect for:
- Meetings where people arrive at different times.
- Kiosks in lobbies, stores, schools, or museums.
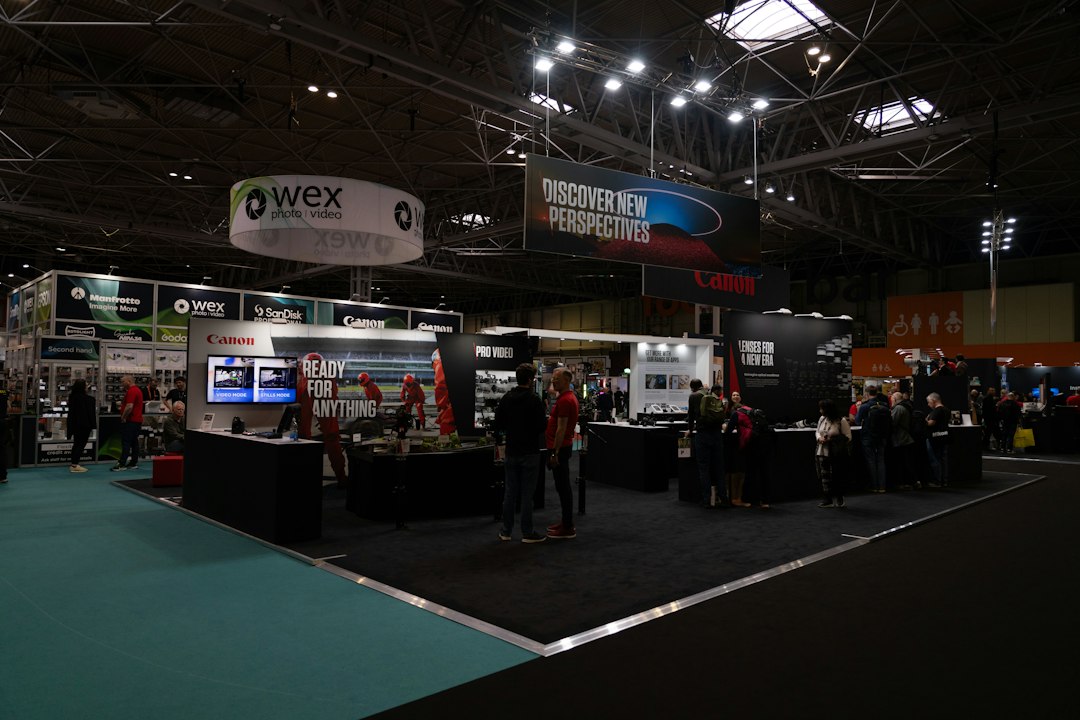
- Events like trade shows, conferences, weddings, and fundraisers.
- Digital signs that show announcements or schedules.
- Training rooms where instructions repeat all day.
Think of it as a little robot presenter. It shows up on time. It never forgets a slide. It does not ask for snacks.
Step 1: Build Your Slides First
Before you turn on looping, make sure your slides are ready. Keep them clean and easy to read. People may only glance at the screen for a few seconds.
Use big text. Use clear images. Avoid long paragraphs. If your slide looks like a tiny legal contract, your audience will run away emotionally.
For meetings, include key items such as:
- The meeting title.
- The agenda.
- Speaker names.
- Wi Fi details.
- Start time.
For kiosks and events, include:
- Directions.
- Schedules.
- Product highlights.
- QR codes.
- Contact details.
- Sponsor logos.
Tip: If people will stand far from the screen, make everything larger than you think it needs to be. Screens are sneaky. Text that looks huge on your laptop may look like ant footprints on a wall display.
Step 2: Add Slide Timings
A loop needs timing. Otherwise, PowerPoint will wait forever on the first slide. That is not a loop. That is a nap.
Here is how to set timings:
- Open your presentation in PowerPoint.
- Click the Transitions tab.
- Find the Timing section.
- Uncheck On Mouse Click if you do not want manual clicks.
- Check After.
- Choose how long the slide should stay on screen.
- Click Apply To All if every slide should use the same timing.
A good starting point is 5 to 10 seconds per slide. Use shorter times for simple slides. Use longer times for maps, schedules, menus, or slides with QR codes.
Do not rush people. A slide should feel like a friendly wave, not a fast moving train.
Step 3: Turn On the Loop Setting
Now comes the magic switch. This is the setting that tells PowerPoint to keep playing until someone stops it.
- Click the Slide Show tab.
- Click Set Up Slide Show.
- Look for Show options.
- Check Loop continuously until Esc.
- Make sure Using timings, if present is selected.
- Click OK.
That is it. Your presentation now knows how to repeat. It will keep going until someone presses the Esc key.
Step 4: Start the Presentation
To begin, go to the Slide Show tab and choose From Beginning. You can also press F5 on many keyboards.
Watch the slides for one full loop. This is important. Do not skip this step. It helps you catch weird timing, missing images, tiny text, or that one slide that stays up for three minutes like it owns the place.
If everything looks good, let it run. Your slide deck is now on duty.
Option: Use Rehearse Timings
If you want custom timing for each slide, use Rehearse Timings.
- Click Slide Show.
- Choose Rehearse Timings.
- PowerPoint will start the show.
- Click through at the pace you want.
- At the end, save the timings.
This is great when some slides need more time than others. A welcome slide may need 6 seconds. A floor map may need 15 seconds. A sponsor slide may need 8 seconds. PowerPoint will remember your pace.
Best Settings for Meetings
For meetings, use a loop before the session starts. Show the agenda, speaker names, start time, and room reminders. Once the meeting begins, you can stop the loop by pressing Esc.
Keep the tone calm and professional. Add a welcome message. Add a note like “We will begin shortly.” This is much nicer than a blank screen. A blank screen says, “Maybe something is broken.” A welcome slide says, “Relax. You are in the right place.”
Best Settings for Kiosks
Kiosks need extra care because people may use them without help. The presentation should be simple, bold, and clear.
Use short messages. Show one idea per slide. Add arrows, icons, and QR codes if needed. Make sure the loop can be understood from any starting point. A visitor may begin watching on slide 7, not slide 1.
If the kiosk is touch friendly, PowerPoint may not be the best choice for complex interaction. But for simple rotating information, it works very well.
Best Settings for Events
Events are busy. People talk. Music plays. Someone is always looking for coffee. Your slides must work in that chaos.
Use strong visuals. Use fewer words. Repeat important details often. For example, show the schedule more than once in the loop. Show restrooms, registration, and session rooms clearly.
If you have sponsor slides, give each one enough screen time. But do not make the loop too long. A loop between 2 and 5 minutes often works well for events.

Helpful Design Tips
- Use large fonts. Try 32 points or bigger for body text.
- Keep contrast high. Dark text on a light background is easy to read.
- Avoid clutter. Empty space is your friend.
- Use the same style. Keep colors and fonts consistent.
- Test on the real screen. Your laptop is not the final judge.
- Check audio. If you use sound, make sure it is not annoying on repeat.
Also, be careful with animations. A little motion is fun. Too much motion feels like a carnival ride after three loops.
Common Problems and Quick Fixes
The slides do not advance.
Check the Transitions tab. Make sure After is selected. Also make sure your slideshow is set to use timings.
The loop stops at the last slide.
Go to Slide Show, then Set Up Slide Show. Turn on Loop continuously until Esc.
The timing feels too fast.
Increase the seconds in the After box. Give people time to read.
The screen goes to sleep.
Change your computer’s power settings. Set the display and sleep options so the screen stays awake during the event.
The presentation looks different on another computer.
Use standard fonts or embed fonts if possible. Also keep all videos and media files in the same folder as the presentation.
Final Checklist
- Slides are simple and easy to read.
- Timings are added.
- Mouse click advance is turned off if needed.
- Loop continuously is turned on.
- The show has been tested for one full loop.
- The computer will not fall asleep.
- The screen is bright and visible.
Looping a PowerPoint is easy once you know where the buttons live. Set your timings. Turn on continuous looping. Test it once. Then let the deck do its job.
Your presentation can welcome guests, guide visitors, and share key details while you focus on the real event. It is simple. It is useful. And best of all, it never gets tired of starting over.